Photos of my vacuum thermal evaporator. This was the first run. I only set up one target (diaphragm) for this run. I currently have space for seven targets at once.
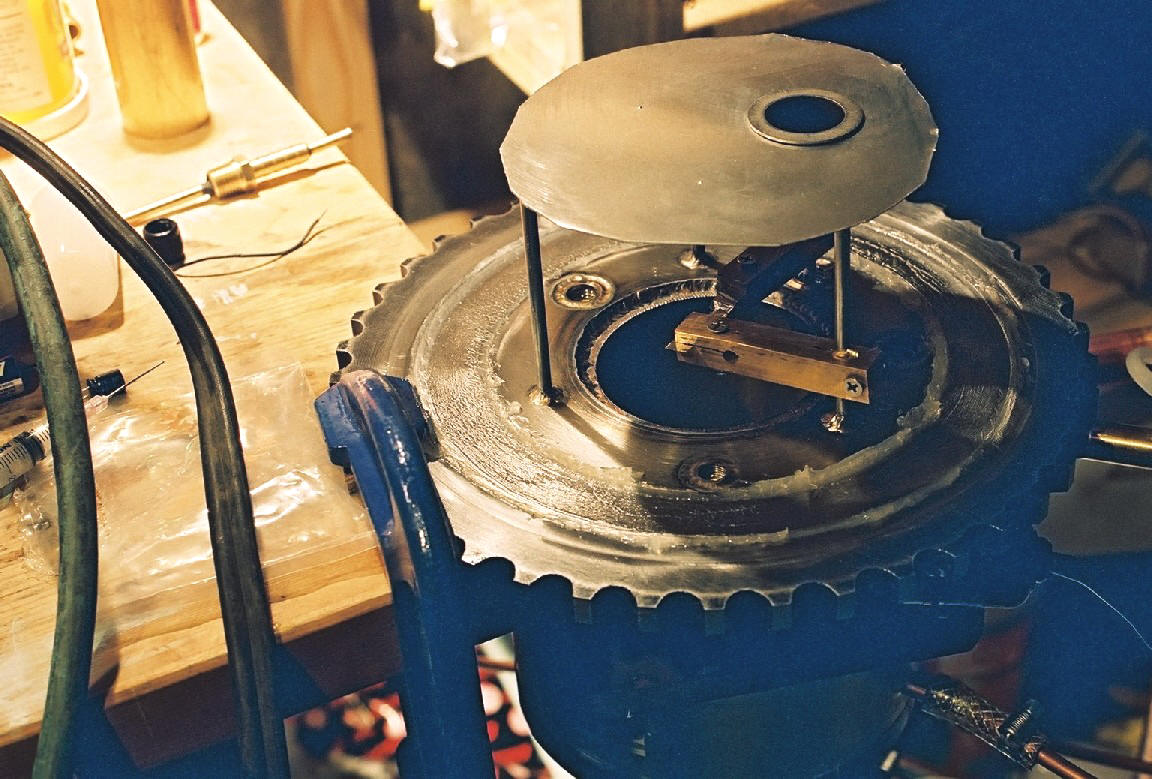
This photo is of the inside of the chamber. The brass clamps hold a small tungsten heater (boat) where nickel or gold wire is placed for the evaporation.
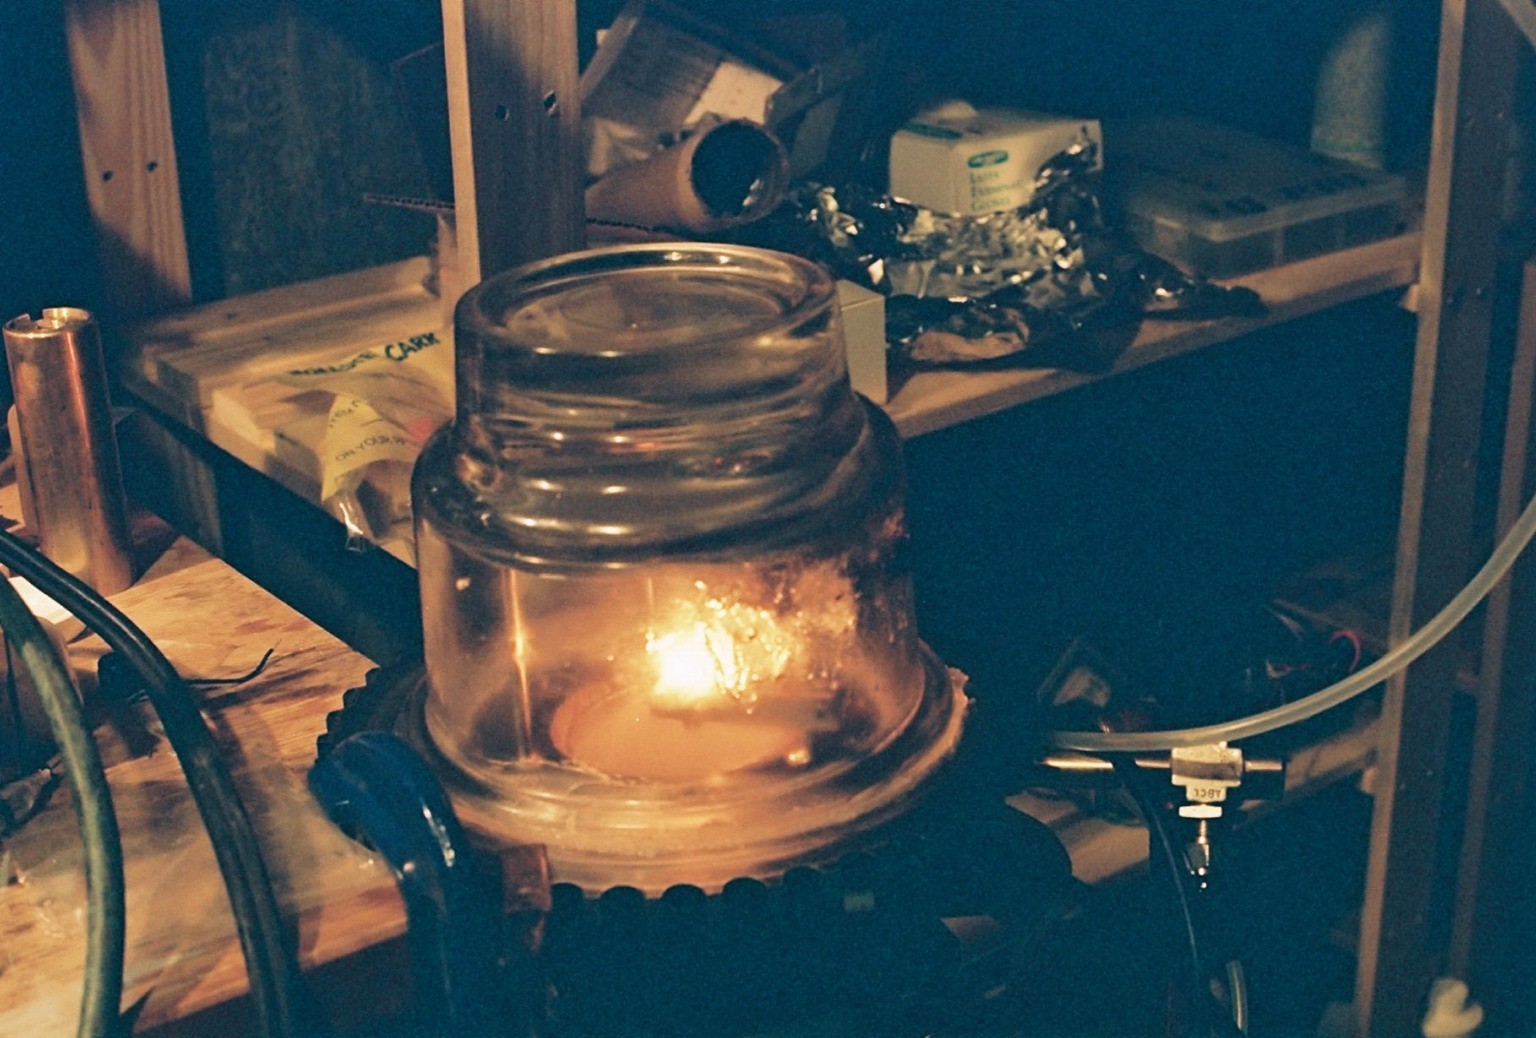
This is the evaporation in progress. The heater current is controlled to maintain a target temperature of around 100 to 150 degrees C. If the temperature rises above this, uneven deposition and diaphragm melting are likely.
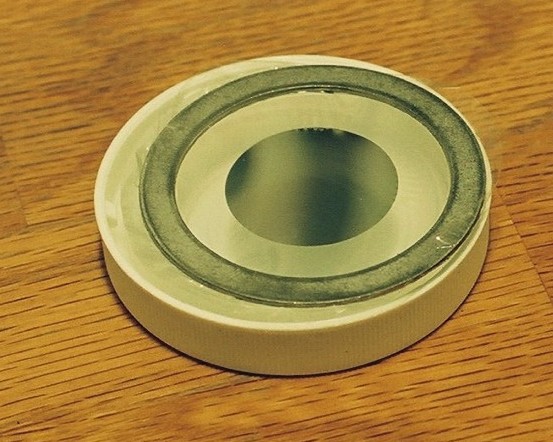
A completed diaphragm. This one is nickel coated. I used nickel for my first diaphragm because it is a bunch cheaper than the gold, so if it didn't work, no harm done. Gold does not adhere as well to the mylar, but it is more conductive, and also does not erode the heater element as quickly. I have done probably eight evaporation cycles with gold on the same heater. With nickel, I needed to replace the boat every two cycles.
This is the bottom side of the evap system so you can see...
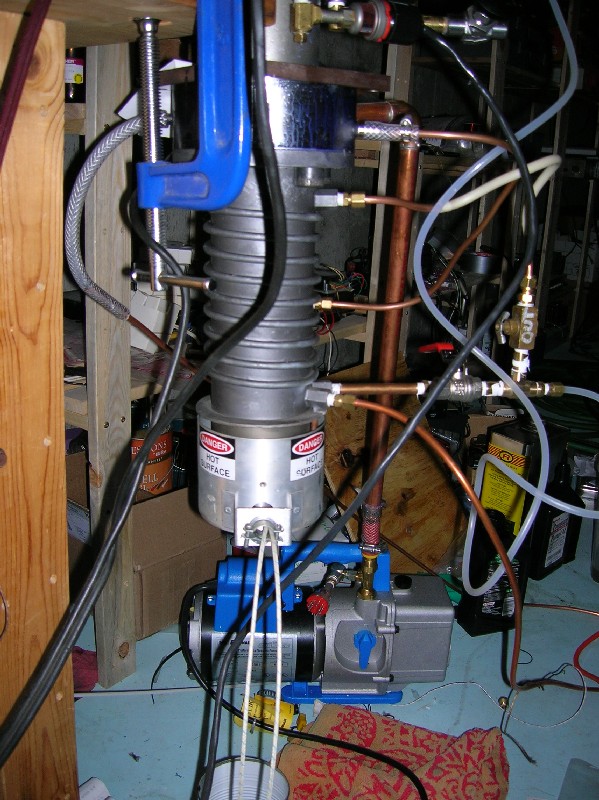
Cold water goes through the cold cap, then the diffusion pump cooling coils. A valve is provided for the quick-cool coils on this pump. The is a low-cost pump designed for small chambers where the customer (me) does not want the cost of a vacuum valve between the pump and chamber. You simply cool the pump down (it takes about 10 minutes) then vent the chamber, then turn off the backing pump. You need to be careful with this arrangement so the chamber does not get full of pump oils.
Since this photo, I've added a PLC to sequence a bunch of valves, and some relatively expensive high-vacuum valves. But the improvement is worth it. I can do diaphragms without fear of flipping one valve in the wrong sequence. It does it for me, and I have vacuum valves and gauges that check that all of the valves are in the right positions to proceed to the next step. It's one of the little Omron little relay boxes, and I would recommend them for any little logic application.