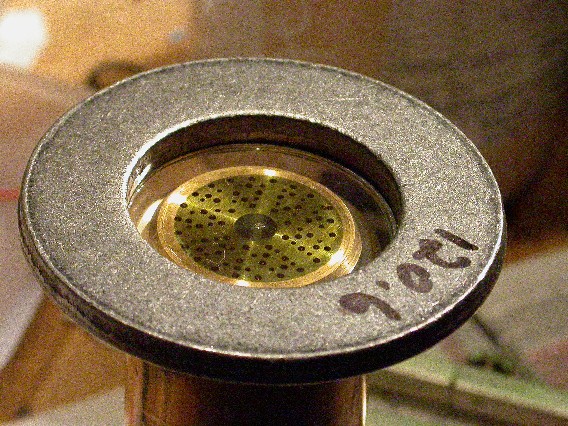
This is a photo of tensioning the diaphragm. This is just a photo shoot - the diaphragm in question was wrecked by careless application of glue. A glued diaphragm is attached by gluing the underside of the diaphragm to the capsule and it's easy for the glue to wick underneath the diaphragm and ruin the works. This diaphragm met that fate, but was recycled to show you how I tension the diaphragms. A mass of 120 grams should result in a diaphragm resonant frequency of about 950 Hz. Care must be taken while mounting the diaphragm to the mounting ring to ensure even tension distribution. I have found that usually the diaphragm ends up working well if this is done. The Neumann style capsule is tuned this way at the factory.
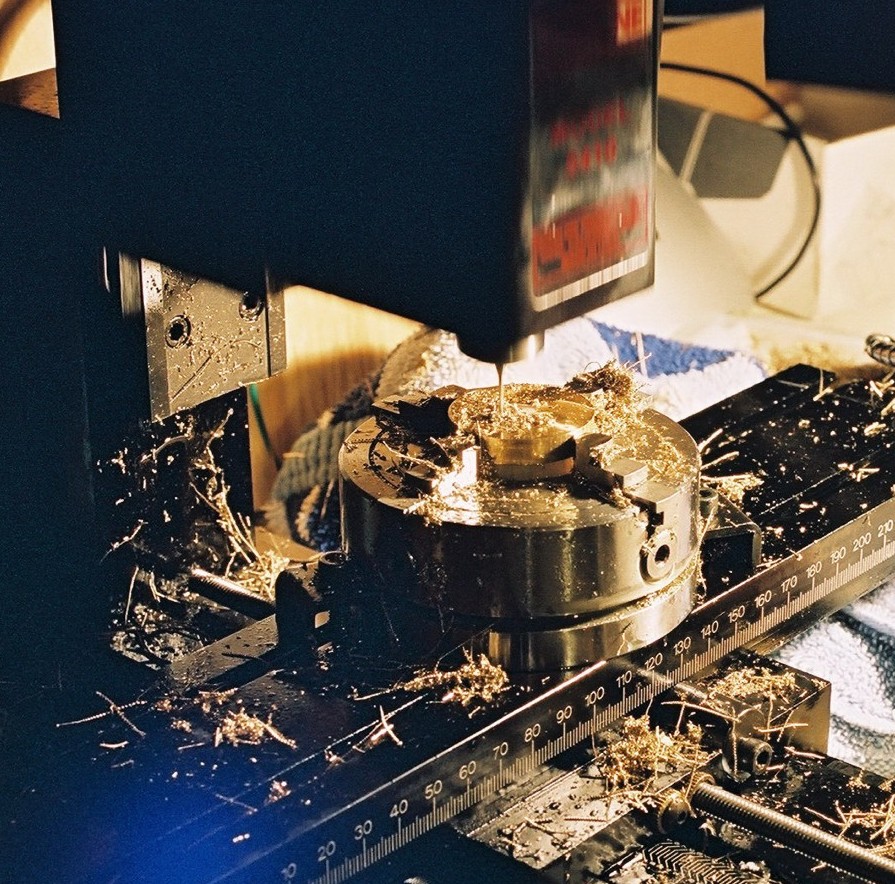
And this is CNC drilling of the capsule. A 4-jaw chuck is used to hold the capsule blank in place, while the mill drills all of the holes precisely where they are supposed to be. I use carbide printed circuit board drill bits as fast as the mill will run. This is a Sherline 5410 metric mill with a ArtOfCNC (Mach 2) controller and a homebuilt microstepping controller board using Allegro Microsystems motor drive IC's. I also use a Sherline 4410 metric lathe, and for critical machining operations of setting diaphragm clearances, I use a Mitutoyo digital dial gauge. I am adding a CNC rotary table to this setup for ease of aligning holes when flipping the capsule upside-down. I am also adding a Levin Lathe collet and a 8.0mm collet adapter to the mill.
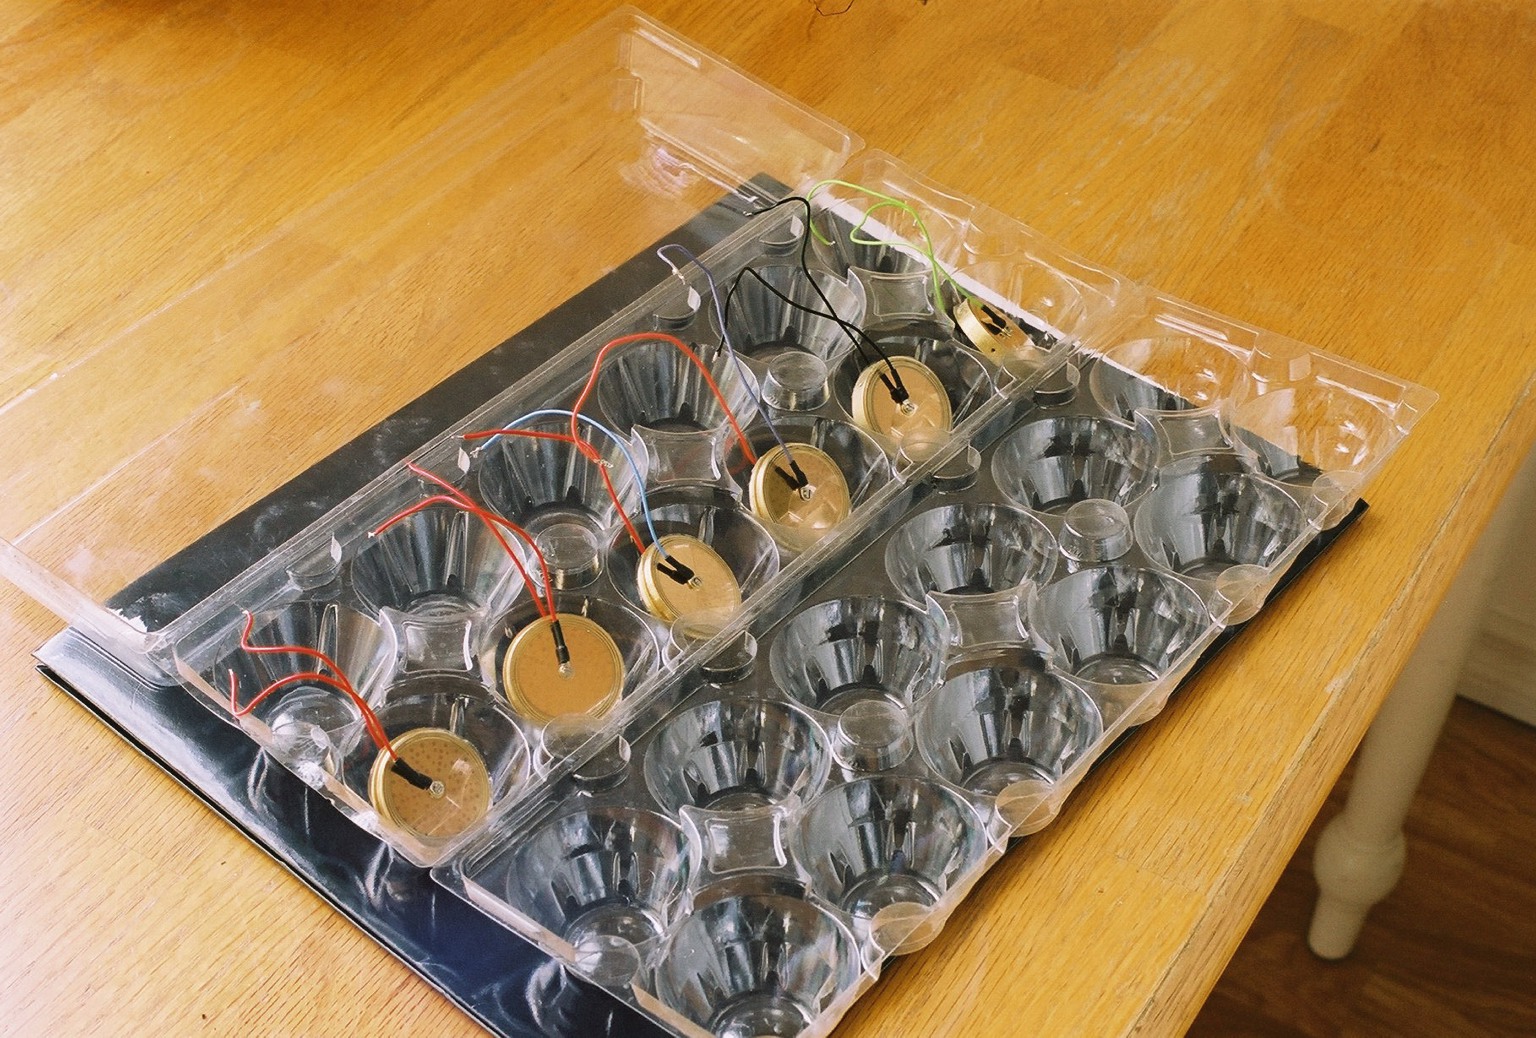
And here are six capsules, tested, and ready to go.